

Our Raised Beds and Chicken Moat
Last spring we built a gorgeous set of raised garden beds. They are large and beautiful and didn’t produce much because of the overwhelming heat we had last summer. I never wrote about it, so below are the photos of how it came together. I am big on asthetic, so I wanted something that would be cool to look at as well as ergonomic to use.
We built four boxes from 2x6 lumber. We opted to go for plain white wood timber because cedar was cost prohibitive and you can’t get redwood in Texas. Still, the lumber for this project was around $1K. We built them three 2x6s high (16.5 inches) and I planned to cap the tops with 2x4s but never did because we decided it wasn’t necessary and we could use that lumber elsewhere.
Each box measures 8x8 but is in an l shape so there is nowhere that is more than a two foot reach from the edges. I built the corner posts lower than the bottoms of the beds, and dug them into the ground. I did this for two reasons: 1) Our black clay soil, and tornado force winds means that things move and shift a lot here, and I wanted these beds to stay put. 2) I was putting them on a slightly sloping spot in the field and I needed to be able to level them without having to level the ground under them. Digging in this soil is a nightmare, so the less we need to do of it, the better.


Once the beds were placed (I changed my mind after we assembled them so we had to use the tractor to move them - they were so heavy,) we proceeded to dig them in and level them. We had a lot of help during this process as you can see from the photos.
We then filled them with a ton of wood and brush from the burn pile and what we could scavange from Ginny’s Woods. We had a lot of space to fill, so we started with larger logs and graduated down in size - logs, to sticks, to twigs and leaves and finally we put composted manure from the donkeys and horses to fill to about 4 inches to the top.
The last step was a delivery of topsoil. I opted for this over garden soil because we had a ton of compost under the topsoil and I thought it would be ok and save some money. We were already about $1,300 in when the beds and fencing were all done. I was wrong about this. I put purchased raised bed in the very center round bed that I made from retaining blocks - this was strictly decorative with lavender, kale and flowers planted, but it thrived while the other beds struggled.
I learned later that there is a big difference in the consistency from one soil to the next, not just in the nutrients. This year we are using raised garden bed soil and hoping for a better yield.
This parlays to my current situation. In the fall we decided to let the chickens into the garden. We added a few more chickens and it was getting crowded in their run. They love it, and we love to see them all over that huge space washing in the beds and they keep all of the grass and weeds down. (last summer i had to weed-eat that huge garden every two weeks.)
So… this year I decided rather than squeeze their space down to what it was before, I would create a CHICKEN MOAT!!


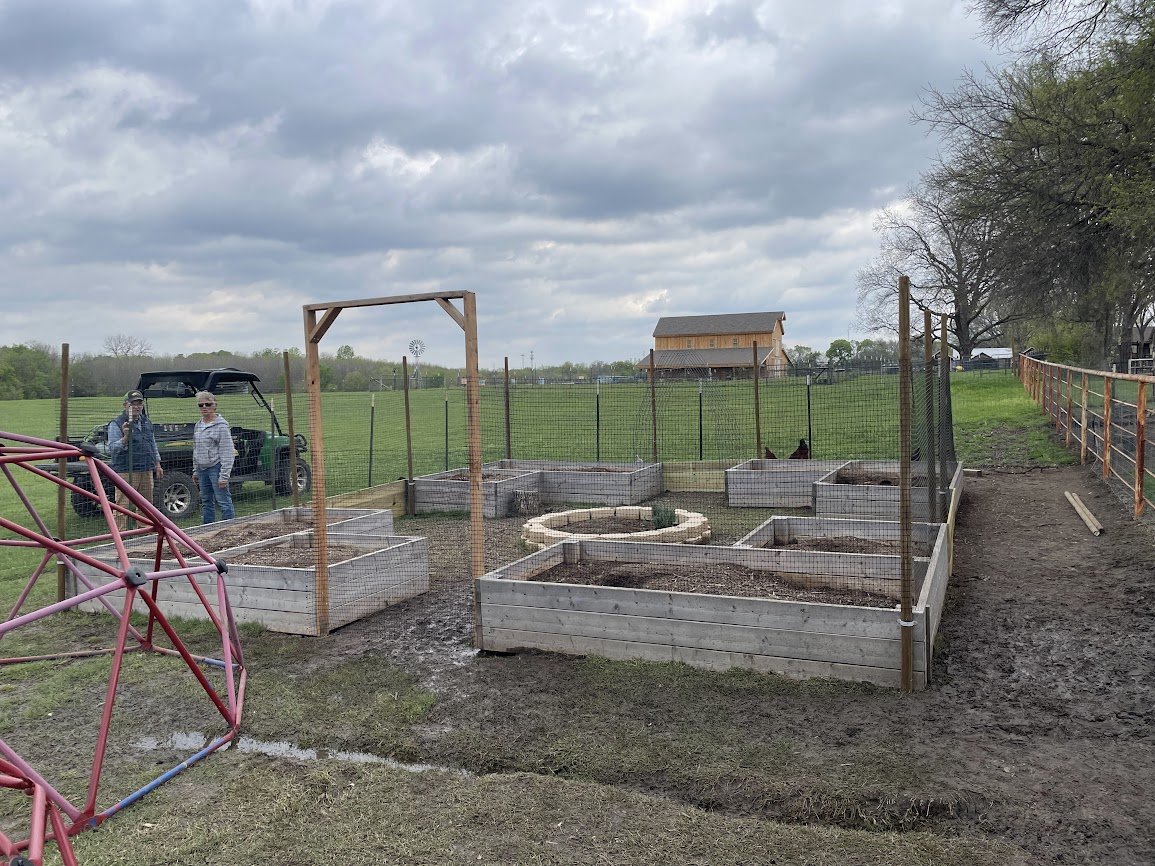
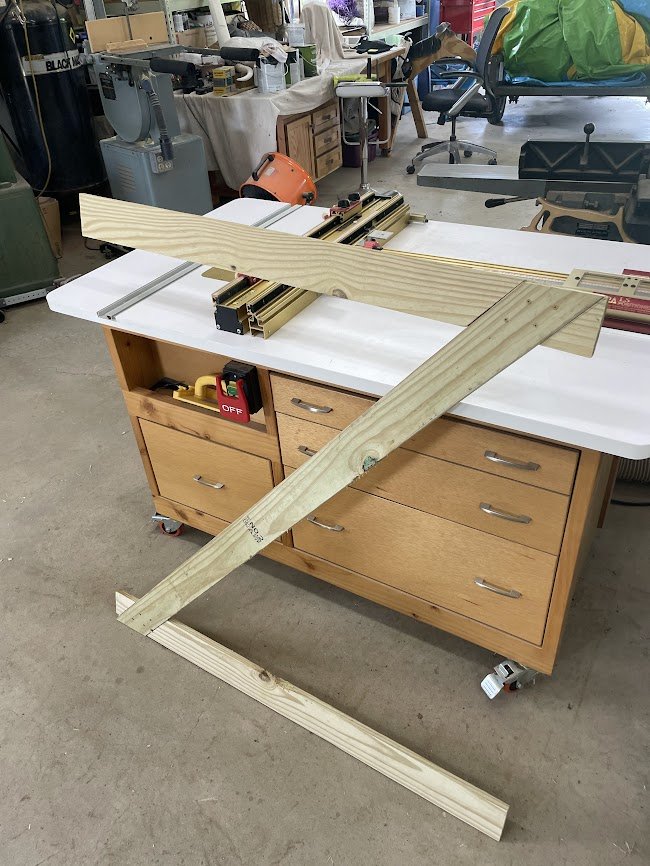

We added some posts to the existing beds, some inexpensive plastic netting (but not something the hens will get stuck in) and I made a garden gate! So we created a garden within the garden, and we will also fence off the in ground garden beds, and the chickens will be able to travel around the garden, keeping down my weeds and bugs! The entire project cost me about $250 and now I don’t have to mow my garden with the weed-eater or make another chicken run.
Once we hit full summer and the blazing Texas sun we will put up some shade using the posts to try to prevent the burning we had last year.
Excited to see what we will yield this summer!