Yes, I Became a Cat Person - The Coolest Cat Tree Ever!
I am not a cat person. I’ve snubbed my nose at people who love cats. I am never afraid to admit when I am wrong and now I am eating crow. I have been schooled - once you get a cat, you become a cat person and I can testify to that. She fascinates me.
Masie as a kitten
I don’t love that she has destroyed my leather furniture, I don’t love that she has peed in my sons shoes. I really don’t love cleaning out the litter box every day but I’m diligent about it. What surprises me is that all of this is still worth watching her crazy antics, cuddling with her on the couch every night, and letting her wake the children every morning. I love her sense of curiosity and her relationship with our dog. I was not; however, prepared for how much attention she requires. My husband kept telling me cats will entertain themselves, but this is not really the case. She needs stimulation.
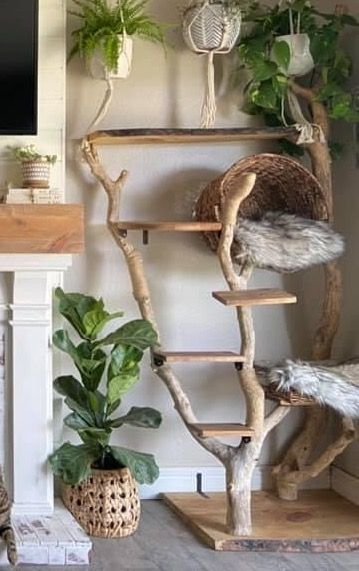
I have an aversion to carpeted cat trees, and other climbing equipment that I’ve seen available on the market. So I dutifully went on Pinterest to see what creative inspiration I could find. Here are some of my favorites.
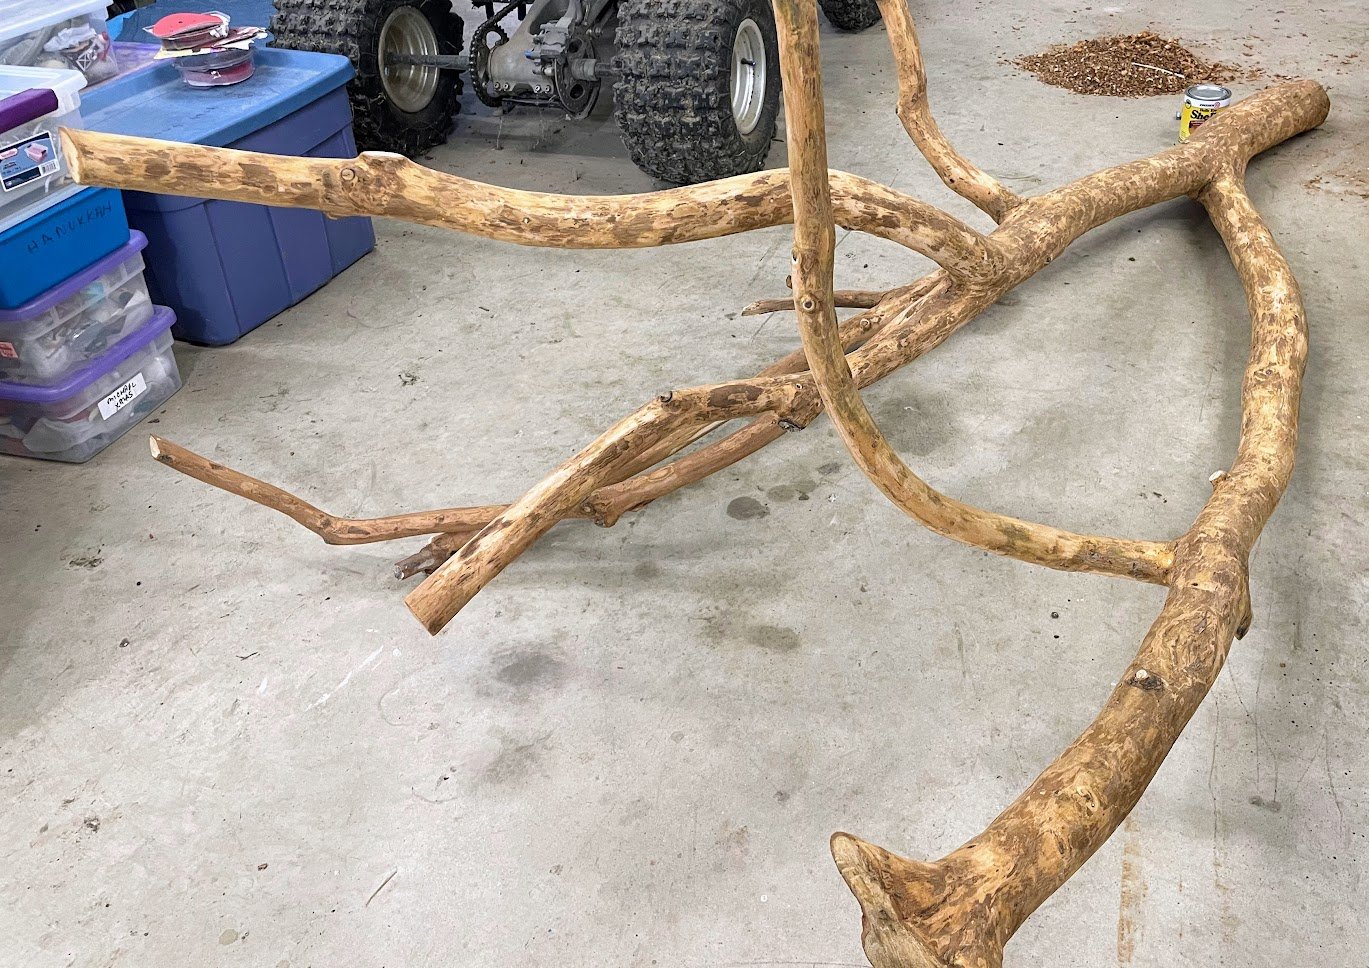
Shortly after I began my quest to find the perfect tree (no easy task,) a giant branch self pruned from one of our Pecan trees. It is massive and my entire family has been laughing at me for the past two months that I have been diligently scraping and sanding, shellacking and cutting. It’s coming together now and I can’t wait to see it installed.
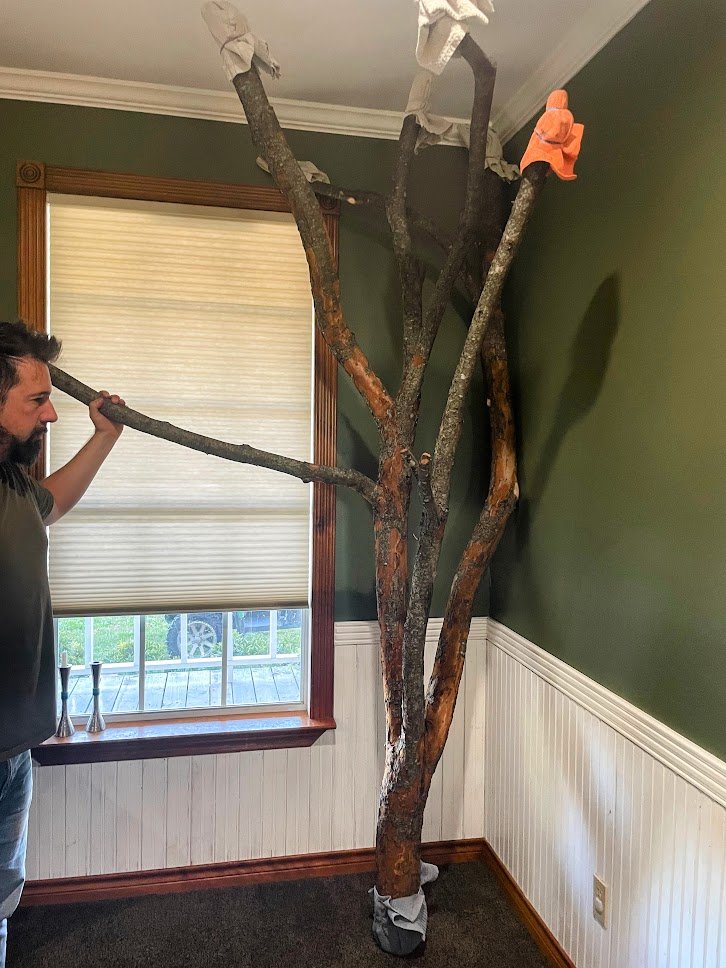
I started with a brand new felled branch from the tree and cut it to just below my ceiling height.
Here it is trimmed to under 9 feet and I started prying off the loose bark.
I knocked off all of the loose bark with a screwdriver before bringing it inside the house to make sure it would look good. Took some photos and got the ok from Mom and a shrug from David and back outside it went.
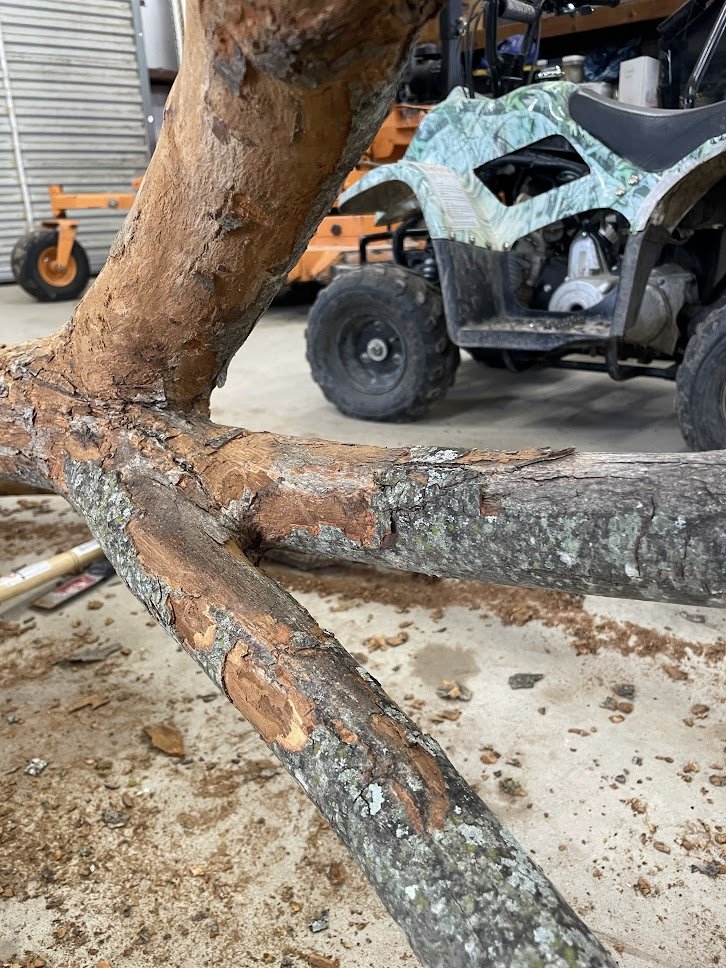
I continued to chip away at the bark and let it bake in the sun for a few weeks before bringing it into the barn.
Using a chisel and a weed paring knife wasn’t very productive
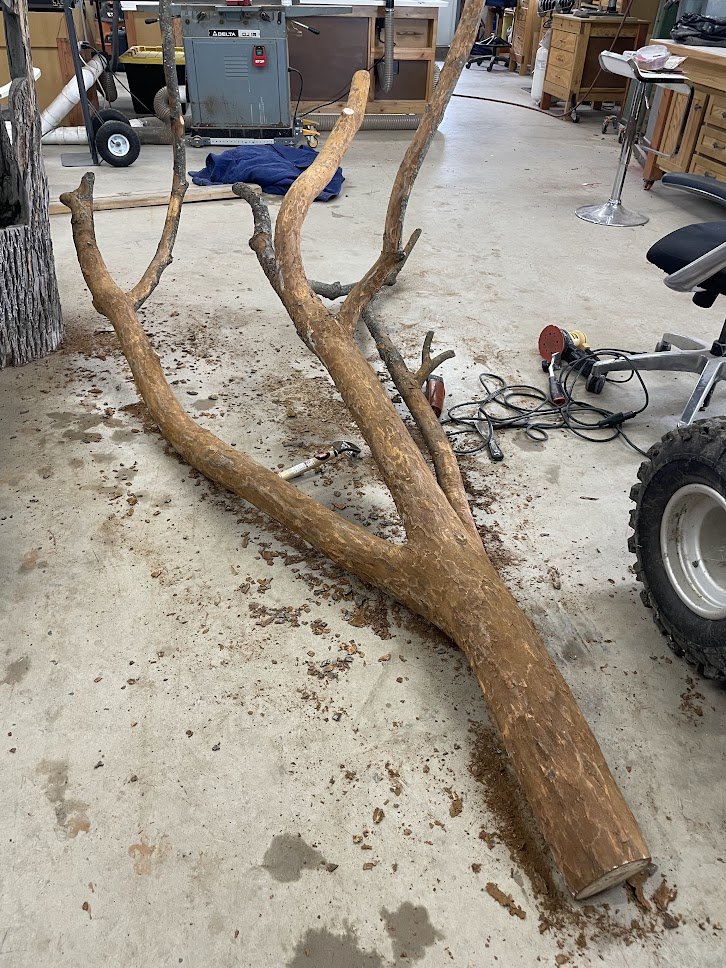
A lot of trial and tools and Dad handed an amazing tool that has a triangle carbonite blade and it was magic. It took me around 10 hours to scrape off enough of the bark that I could sand it smooth.
Using the carbonite tool.
Another two hours of the orbital and a 60 grit and it was smooth and pretty rad looking.
Sanded and Ready for Finish
A consult with Dad again (what would I do without him) and I settled on shellac to seal it. I want it to be non-toxic and I wanted it to be able to continue to dry out without messing up whatever coating I used.
Two coats and it looked awesome. Of course I forgot to take a picture before we strung it upright. This was fast, about an hour total.
Next step was to figure out the base. I wanted to make it look like roots, but the drawing I did would take a lot of wood and probably still wouldn’t support it, so we opted for a smaller footprint and we will design a way to attach the top to the ceiling or corner of the wall.
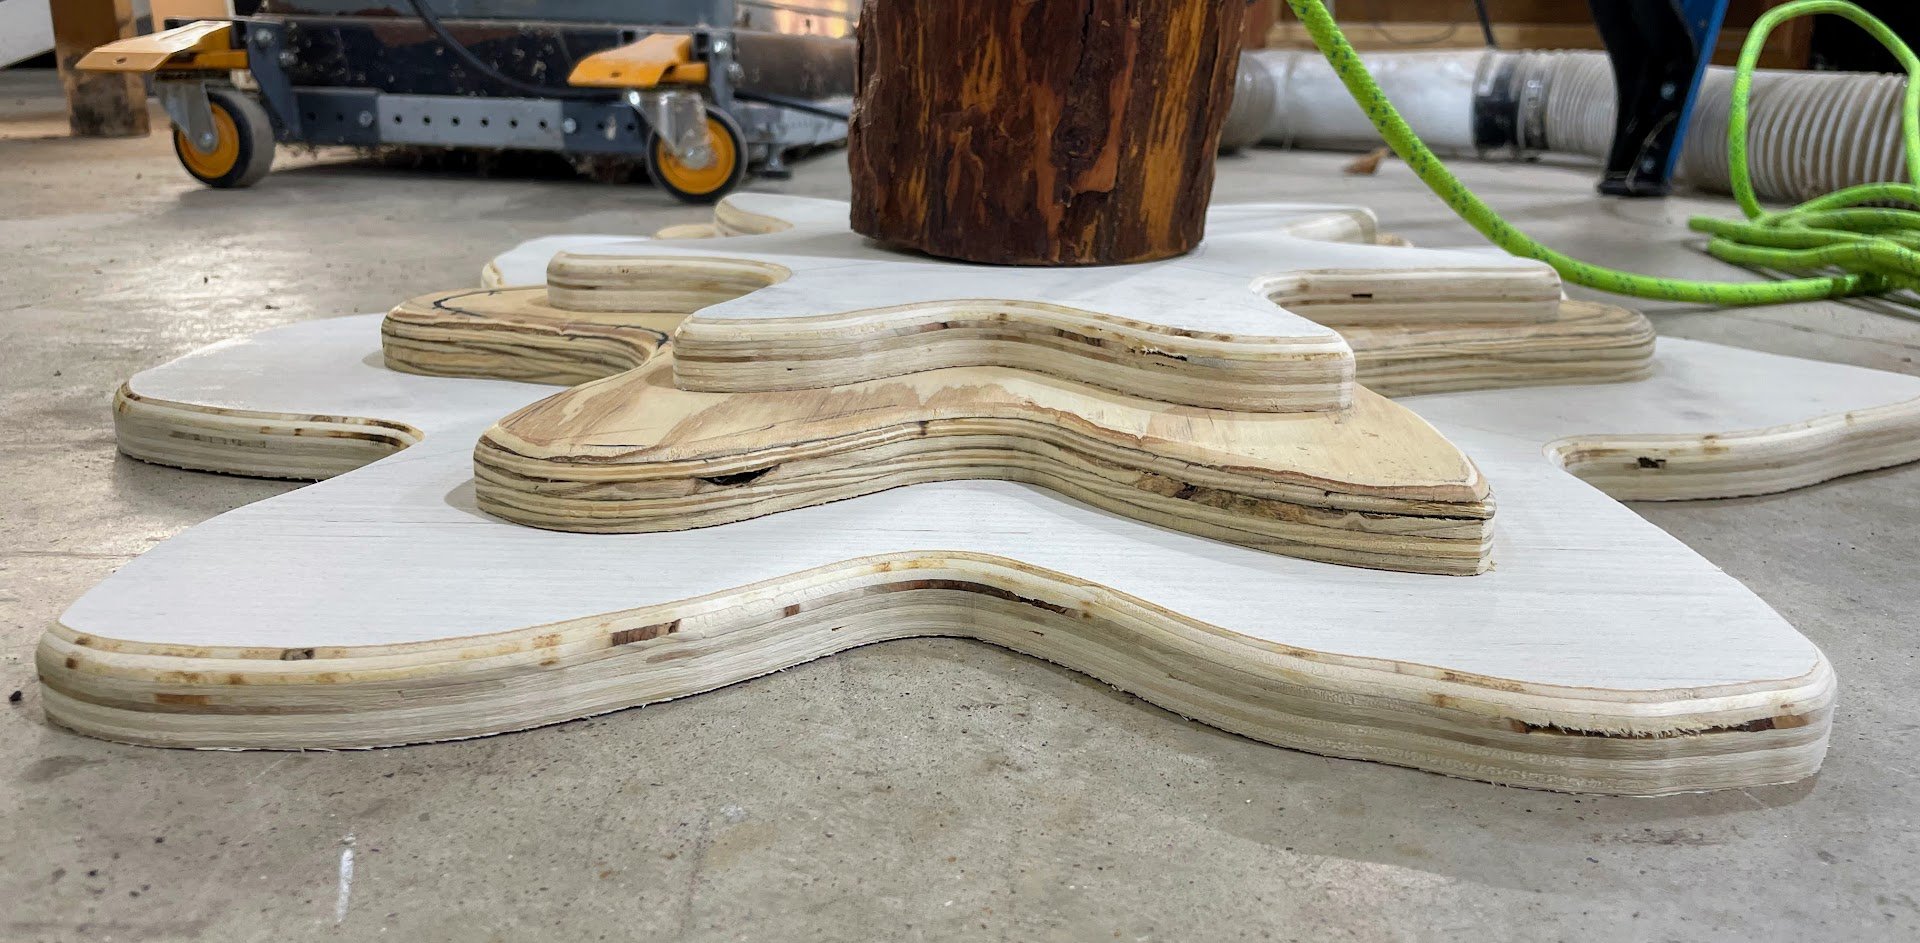
I drew the first outline on a 3/4 in sheet of plywood around 18x18. I cut it out with the band saw, then sanded the edges on the spindle sander.
Then I curved the top edges with the router. I repeated this two more times on gradually larger pieces of plywood and stacked them. I think I will finish with couple of coats of copper spray paint for simplicity and because I want it to look more like furniture. This took us about two hours in total for the base pieces, but we still need a hole in the center.
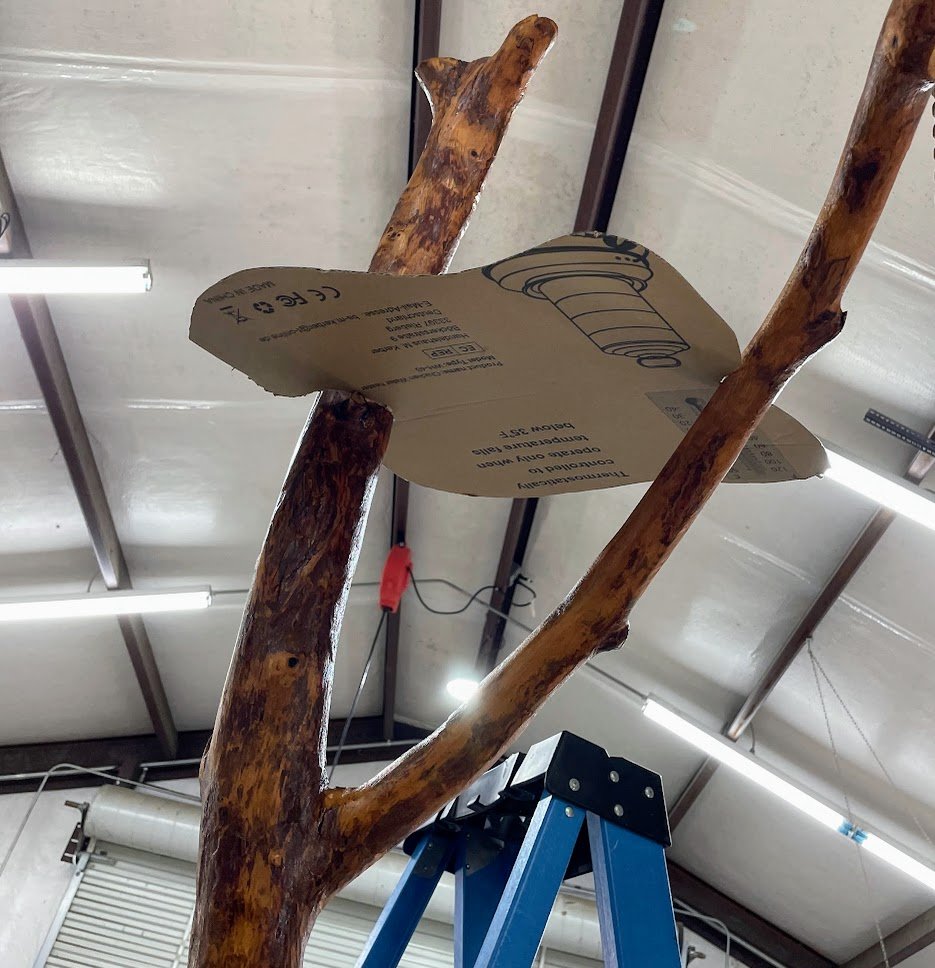
I drew up two platforms using cardboard. Band saw and a smaller router bit to round out the top and bottom edges. One platform will get two small indentations to hold her food and water dishes. The other is larger and goes up high.
A hammock made from an old pillowcase and a couple of wood pieces inside for support goes on the lowest branch that will be positioned in front of a window.
A couple of small “steps”, a rope and branch ladder, a climbing rope and a webbed net at the highest fork will complete the climbing accessories.
A few areas wrapped in twine give her some scratching posts, and a few suspended crystals and other pretty hanging things add bling and things to bat at. (Those are more for me.)
I will add some accents of copper on the branches that she hopefully won’t scratch up and maybe some fairy lights and that is the end of the vision.
Stay tuned to see how it comes together!


